


Content
Download Eclipse
Please visit Eclipse IDE official web site, download and install the latest version of Eclipse IDE for Java Developers.
Import Checkstyle Project
Select File > Import > Maven > Existing Maven Projects

Setup Maven plugin connectors
When you import Checkstyle Project, "Setup maven plugin connectors" window will appear.
Left click on "Finish".

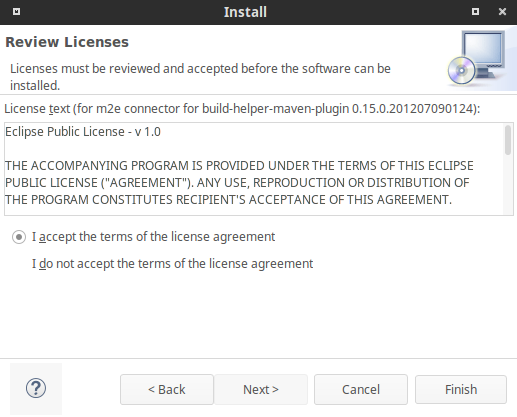
Then plugin "Install" window will appear.
Left click on Next > Next.


Set "I accept the terms of the license agreement" > Finish.
Then "Security Warning" window will appear.
Left click on "OK", and then restart Eclipse.

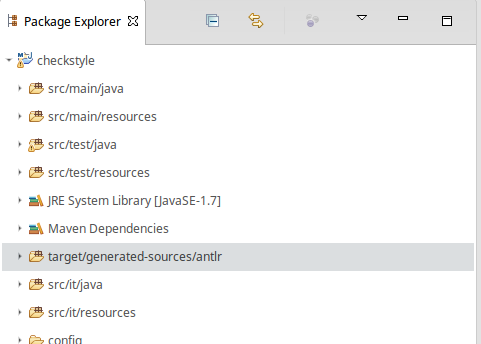
Then target/generated-sources/antlr folder will appear in Package Explorer.
Suppress Eclipse warnings
1) Use Eclipse compiler preferences from repo:
copy
config/org.eclipse.jdt.core.prefs file
to
.settings folder of cloned repository on your PC. Restart Eclipse.
Such folder does not exist in repository after clone and it is created by Eclipse
during project import. If folder not present please import checkstyle to Eclipse first.
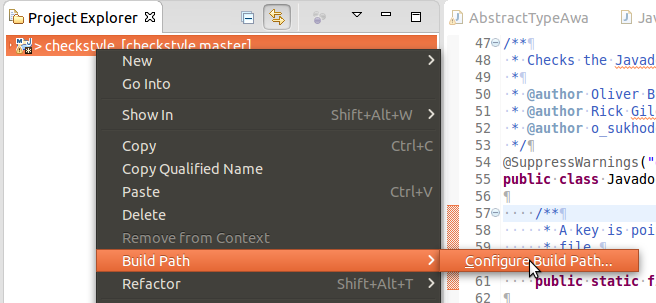
2) Ignore optional compile problems on resource files:
Right click on Checkstyle project > Build Path > Configure Build Path...
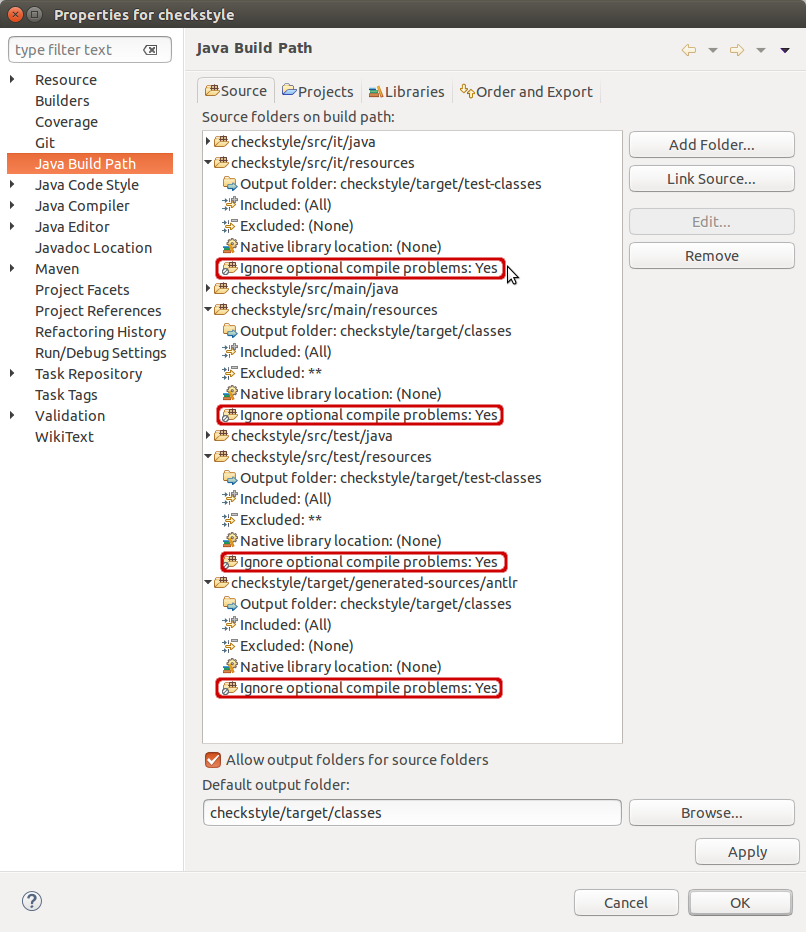
Set "Ignore optional compile problems" to "Yes" for following folders:
- src/it/resources
- src/main/resources
- src/test/resources
- target/generated-sources/antlr
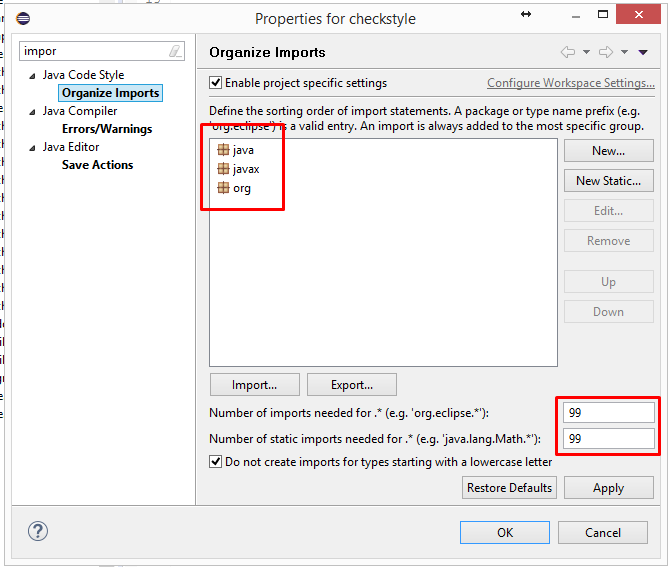
Organize Imports
One of the Checkstyle checks we run on our own code require certain order of import
statements. Few changes in IDE settings are required to help your IDE do it
automatically.
To change settings of "Organize Imports" feature (Kepler, Luna & Mars, other versions
are likely to work the same way), please go to Window -> Preferences in menu.
In Preferences window select Java->Code Style->Organize Imports (follow numbers on a
picture).
Default configuration should look as following (you can also try Restore Defaults
button):
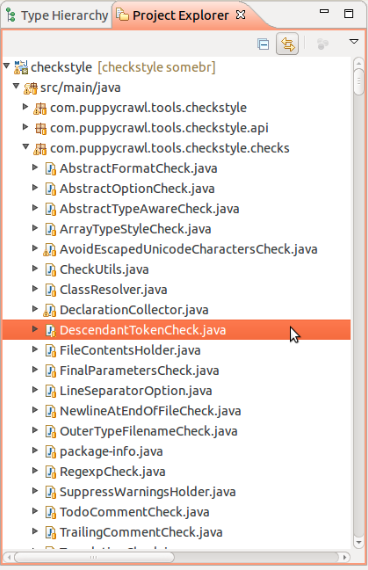
Debug
Open the Check's source file by double-click on it in a source tree as is shown:
Debug the Check by putting the breakpoint at controversial place (double-click)
on the left part of line number as it is shown:

Then right-click the corresponding Unit-test file or class definition > Debug As >
JUnit Test

Then manage you debug operations by F6 (Step Over), F5 (Step Into), F7 (Step Return)
and F8 (Resume)